Je me présente, je suis Thomas et j’ai 10 ans. Je vais vous montrer comment créer un pot à crayon à partir d’une boite de capsules Nespresso!
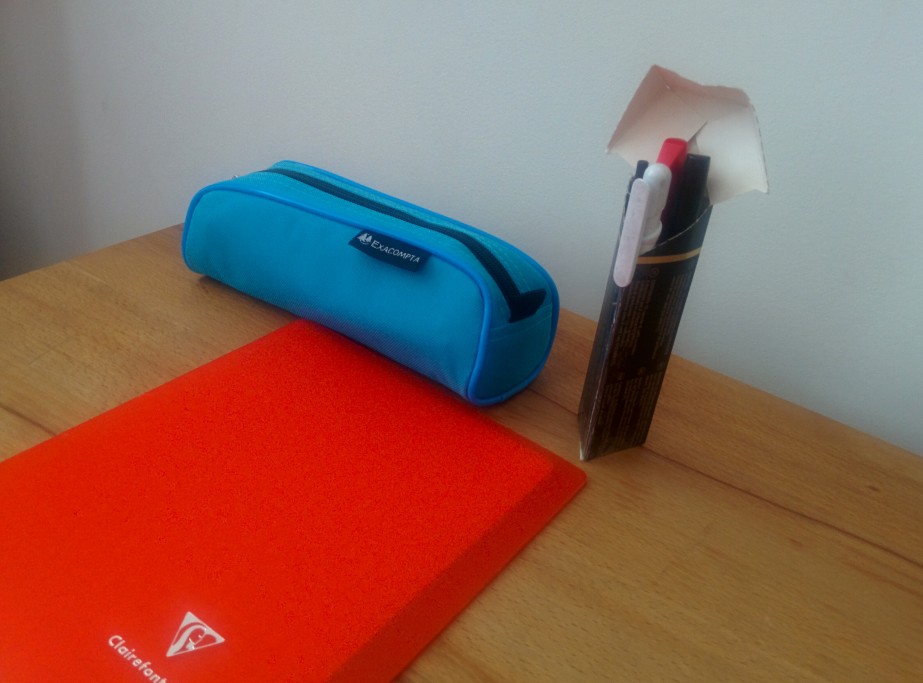
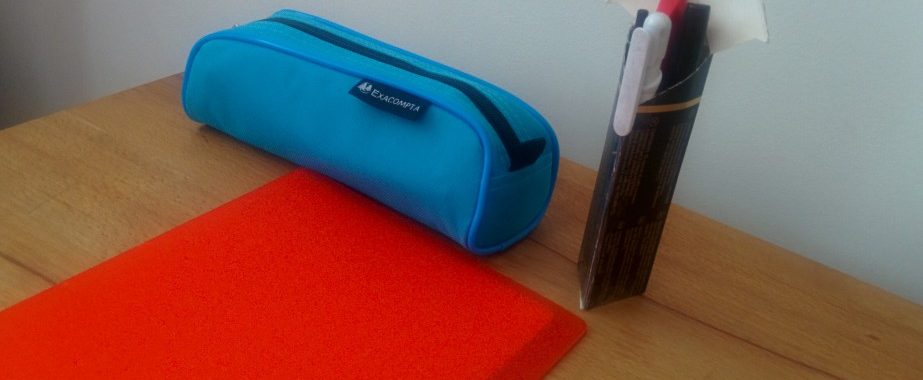
Le pot à crayon un fois fini
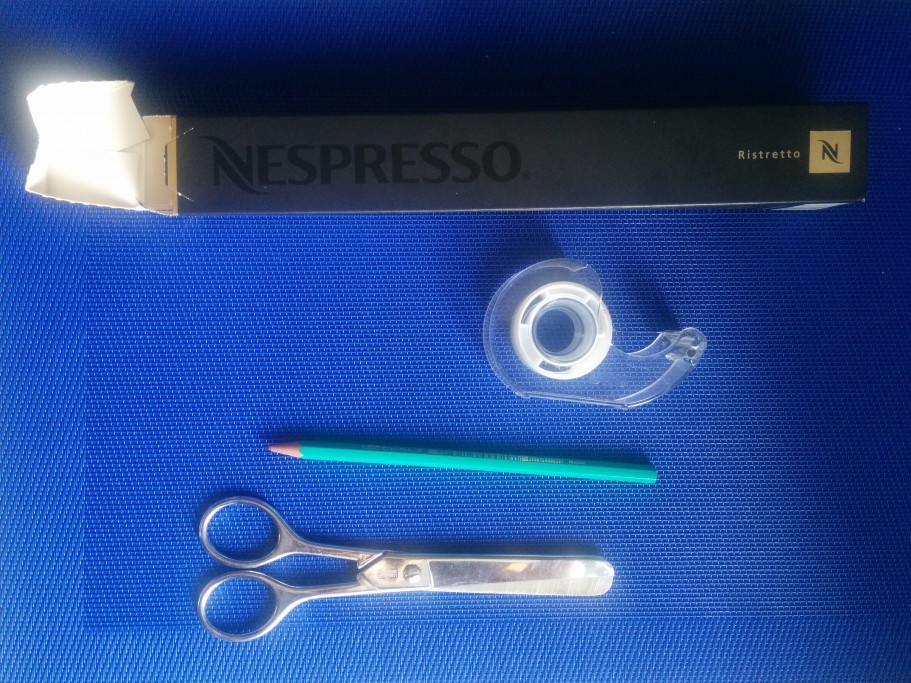
Le matériel dont nous avons besoin.
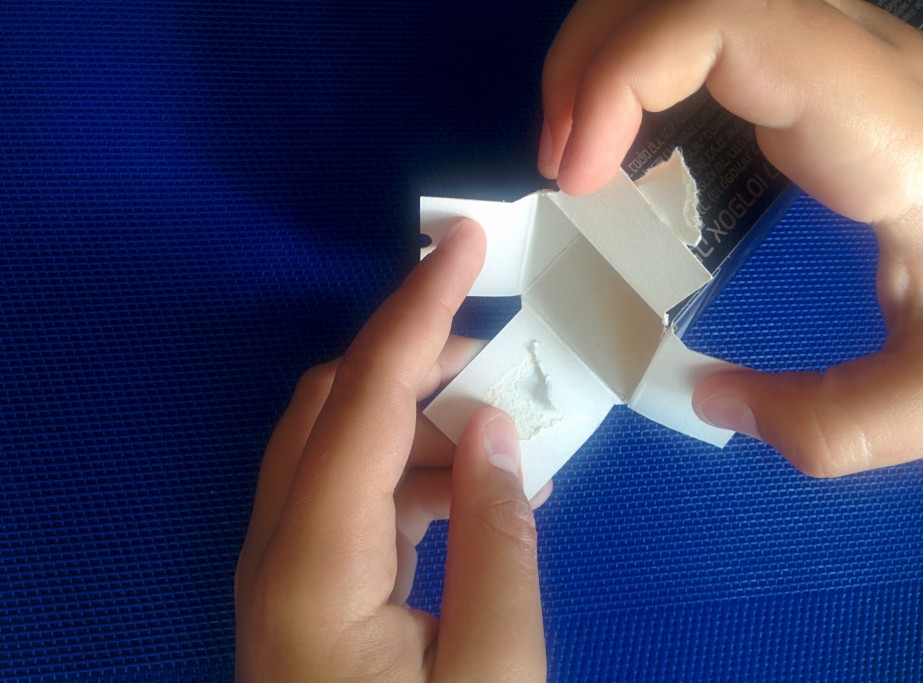
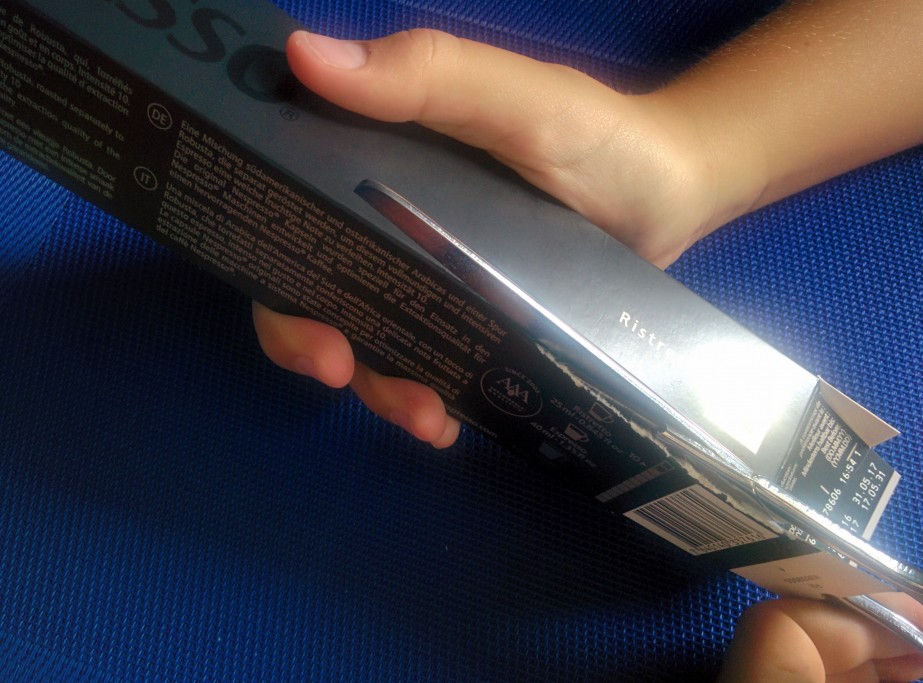
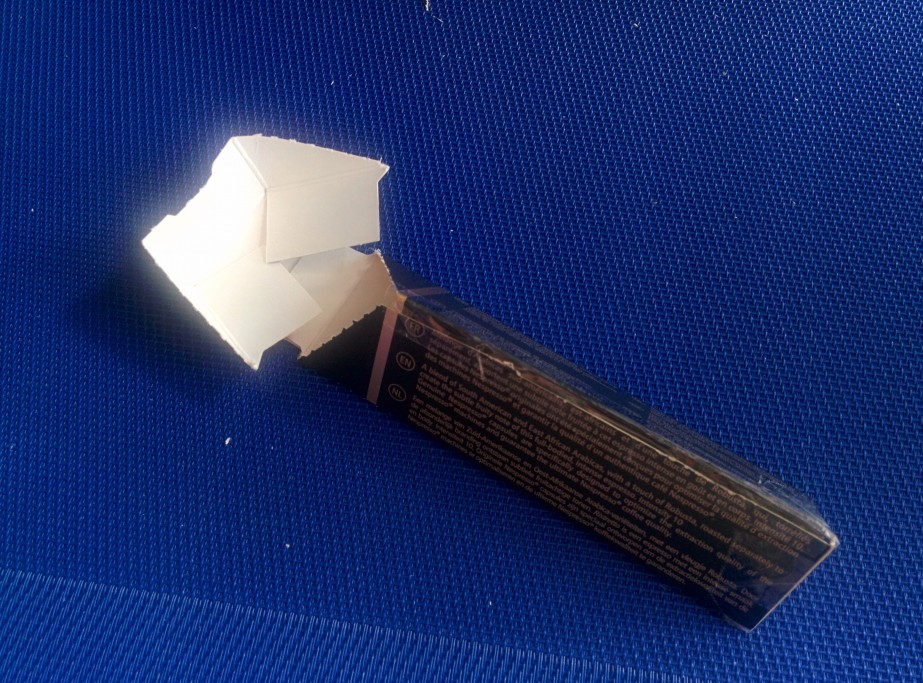
Etape 1: ouvrir le dessous de la boite.
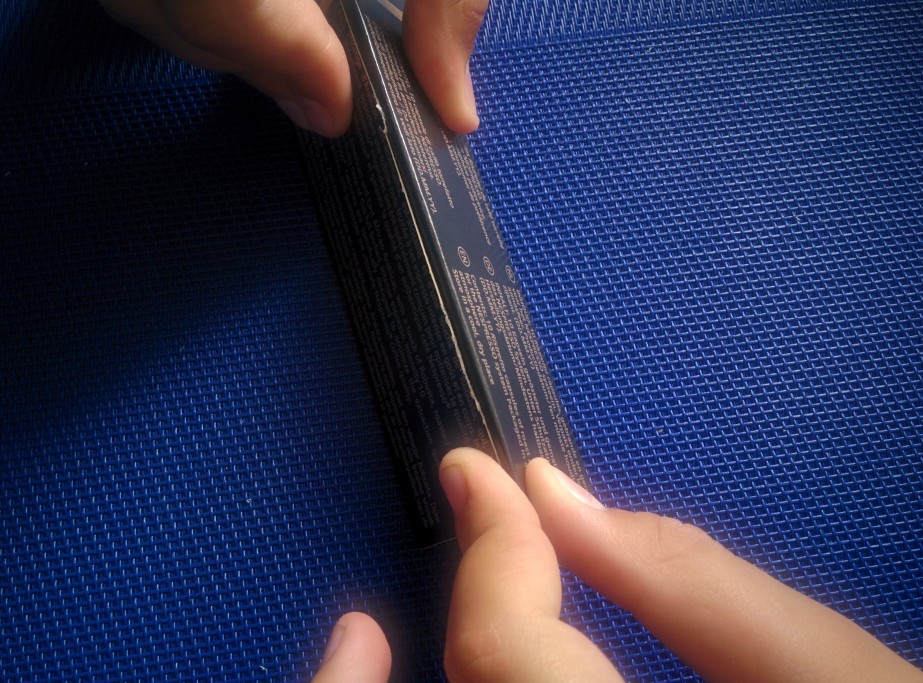
Etape 2: découper l’arrête que l’on voit sur la photo.
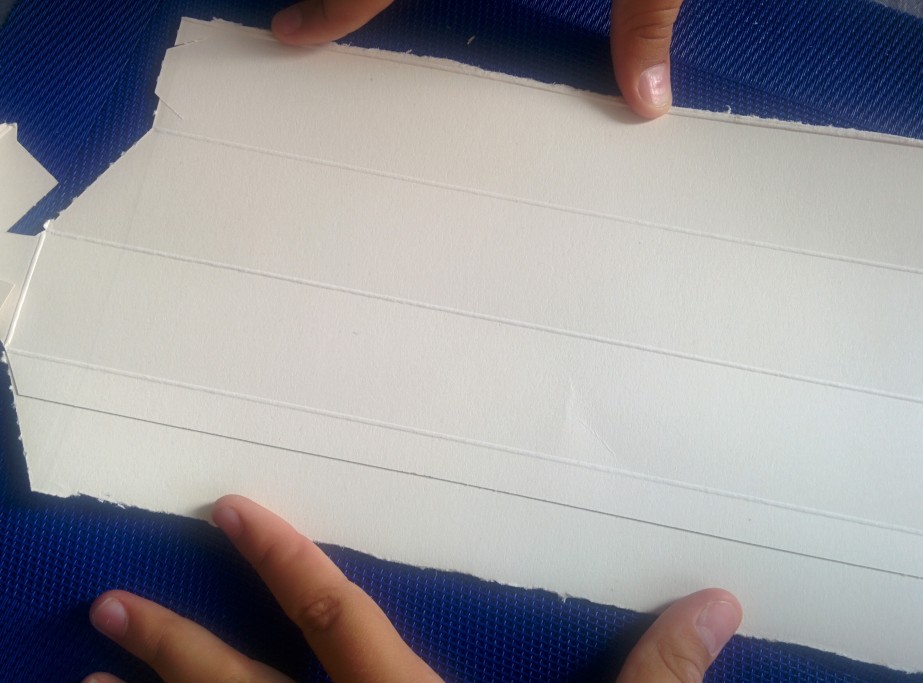
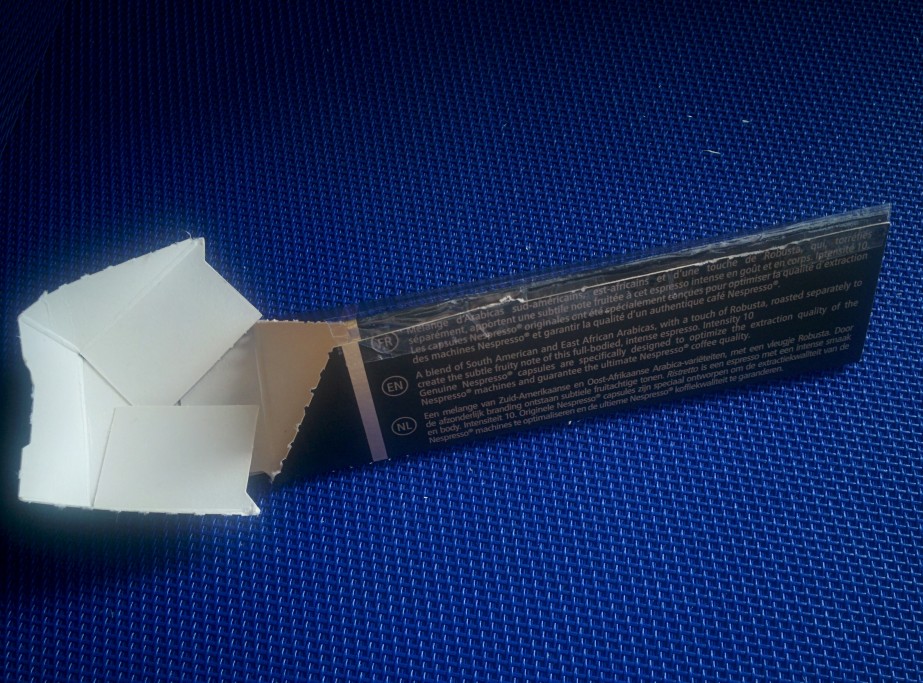
Etape 3: aplatir la boite pour faire apparaître l’intérieur.
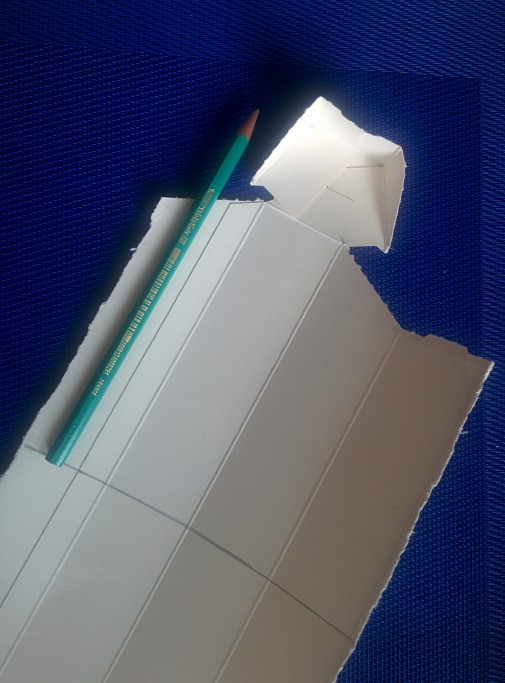
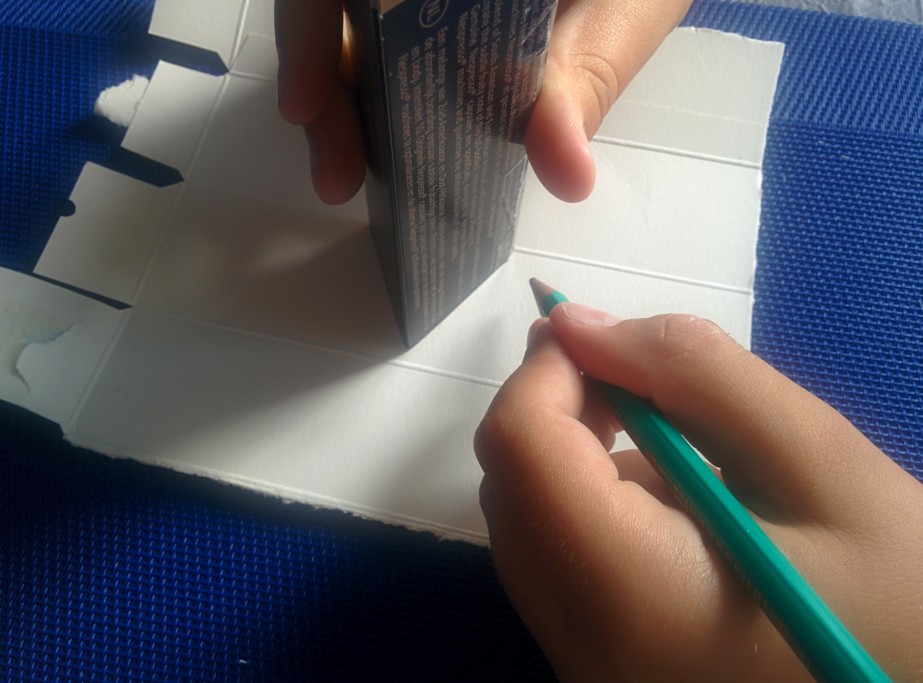
Etape 4: avec un crayon: tracer un trait pour définir la hauteur du pot.
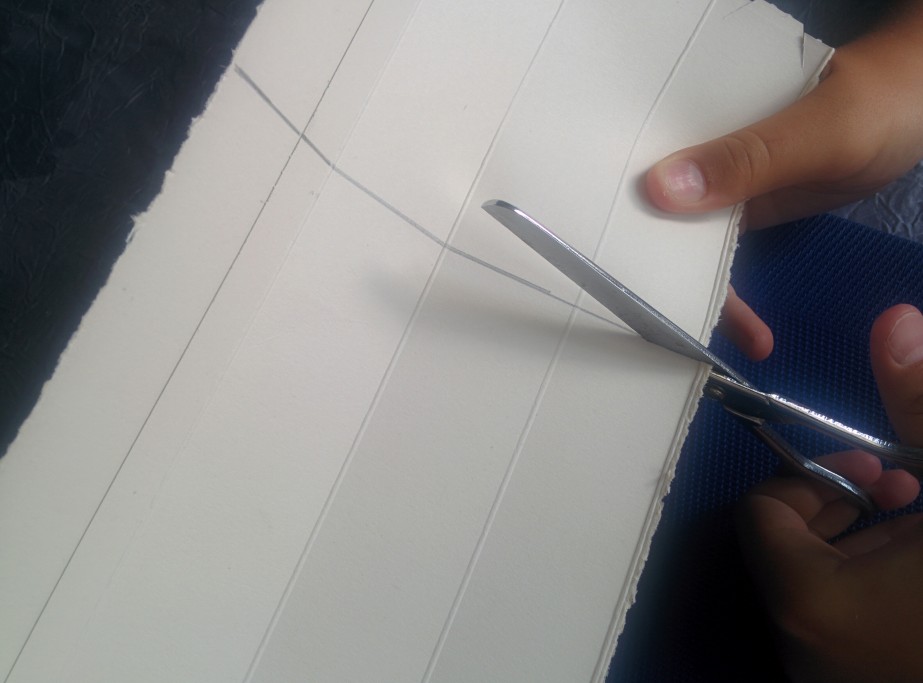
Etape 5: découper le long du trait.

Etape 6a: plier l’arête
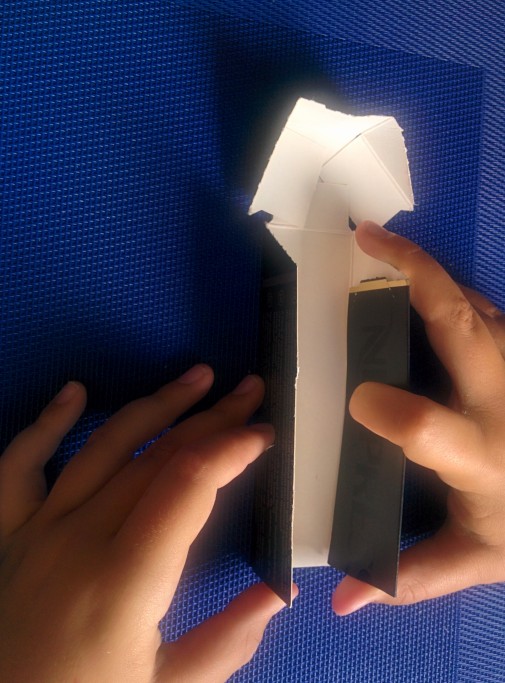
Etape 6b: plier les deux autres arêtes.
Etape 6c: réunir les deux bouts pour faire une forme de Toblerone.
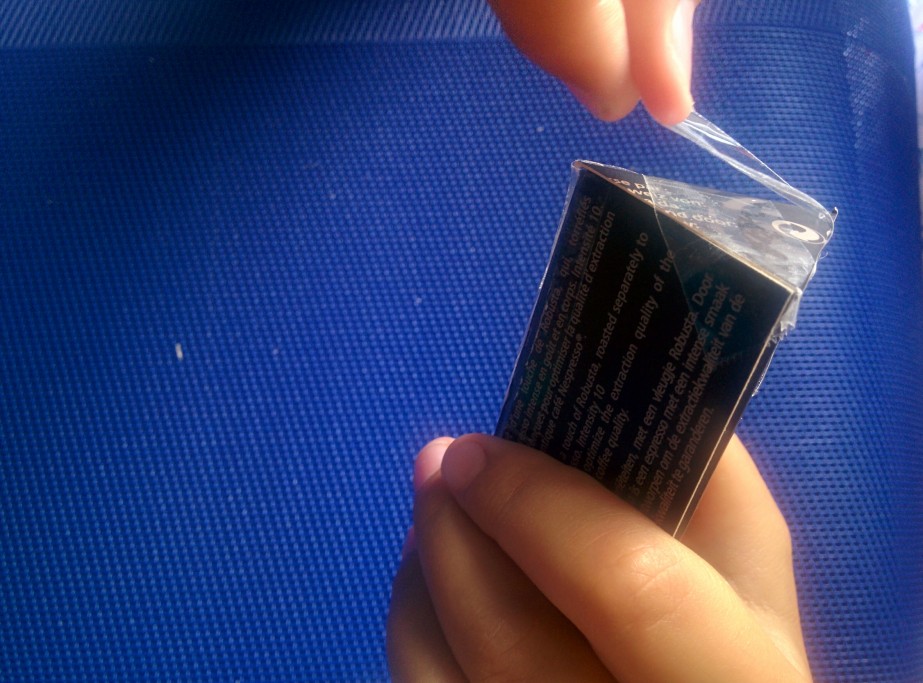
Etape 7: Scotcher pour maintenir la forme en place.
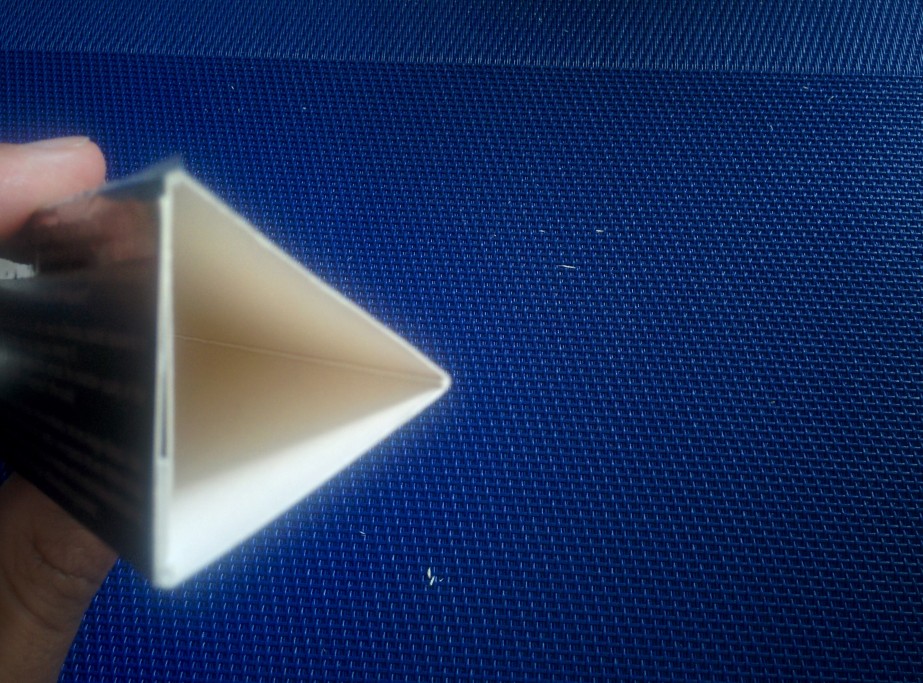
Etape 8a: Le bas du pot est creux
Etape 8b: dessiner un triangle de la taille du bas du pot (dans le reste de la boite Nespresso).
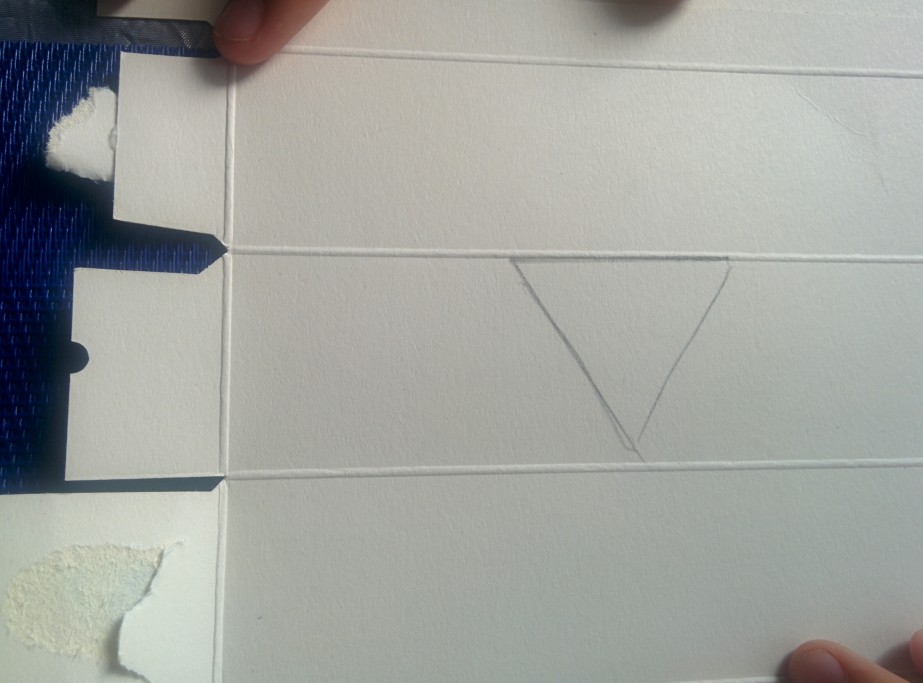
Etape 8c: le triangle dessiné.
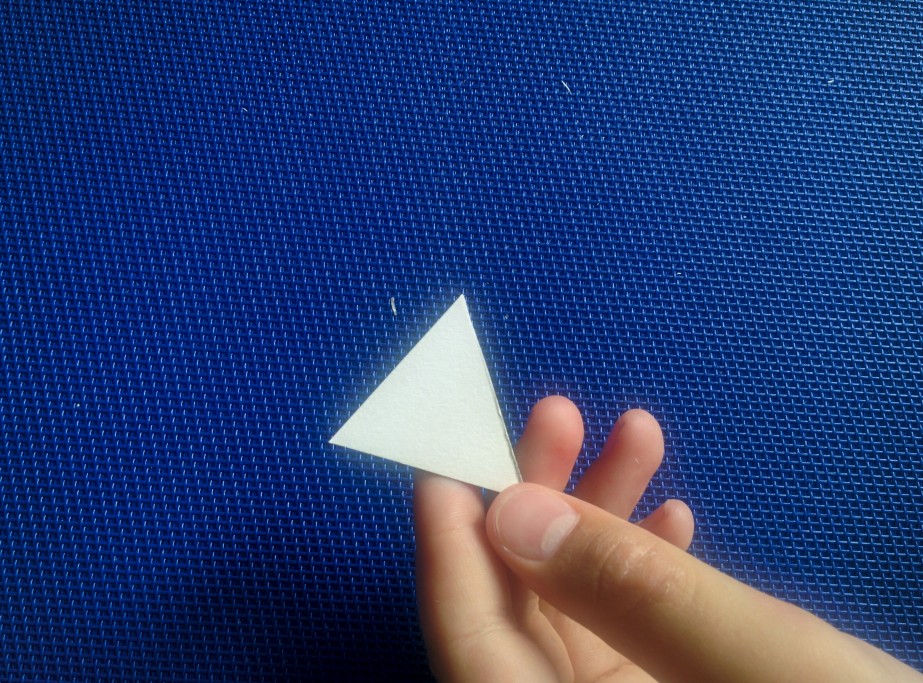
Etape 8d: découper le triangle.
Etape 9: scotcher le triangle en bas du pot.
Le pot à crayon est fini!
Le projet est open-source, donc vous pouvez le modifier comme bon vous semble. Par exemple: vous pouvez le peindre, le décorer ou rajouter des stabilisateurs…